How to install TimescaleDB on Azure

A walkthrough with hardware sizing recommendations
Original post by William Hoang
TimescaleDB is an open-source scalable SQL database built for time-series data, optimized for fast ingest and complex queries. It speaks “full SQL” and is correspondingly easy to use like a traditional relational database, yet scales in ways previously reserved for NoSQL databases. (More info in our Docs.)
In this post, we will walk you through how to set up TimescaleDB on Azure.
You will learn how to:
- Get up and running on Azure
- Set up your D2S instance
- Install TimescaleDB
- Configure PostgreSQL
- Use TimescaleDB
Getting up and running with Azure
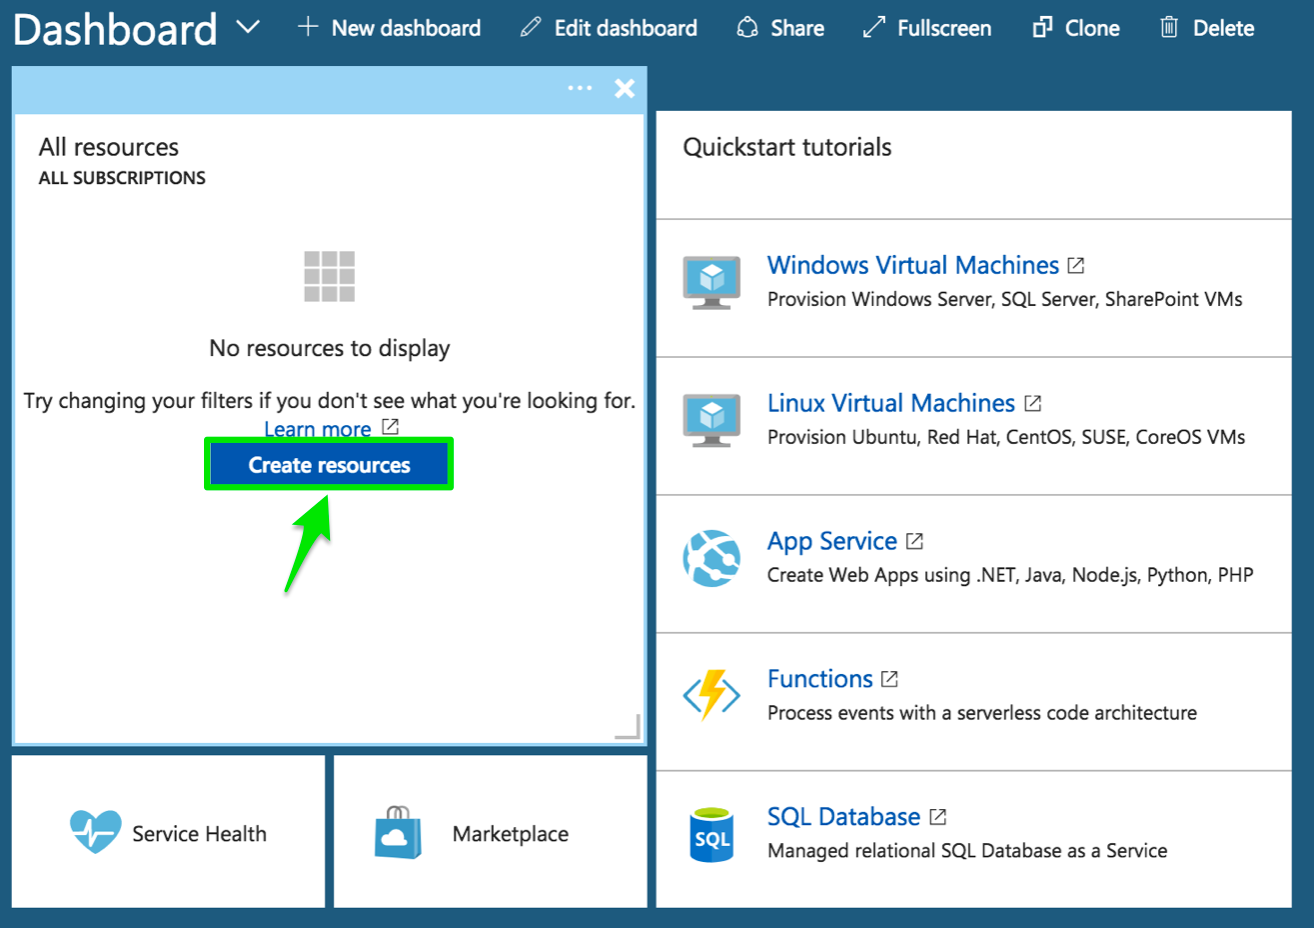
Head to https://azure.microsoft.com/ and create your free Azure account. Click on the Azure portal tab and enter your credentials if prompted. You should see a similar page as the one below once logged in:

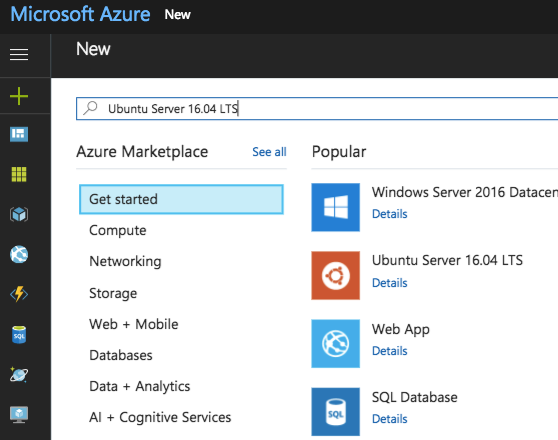
Next, within the Dashboard section, select Create resources and a panel of services from the Azure Marketplace will appear:
In the Search the Marketplace field bar, type ‘Ubuntu Server 16.04 LTS,’ and press enter:
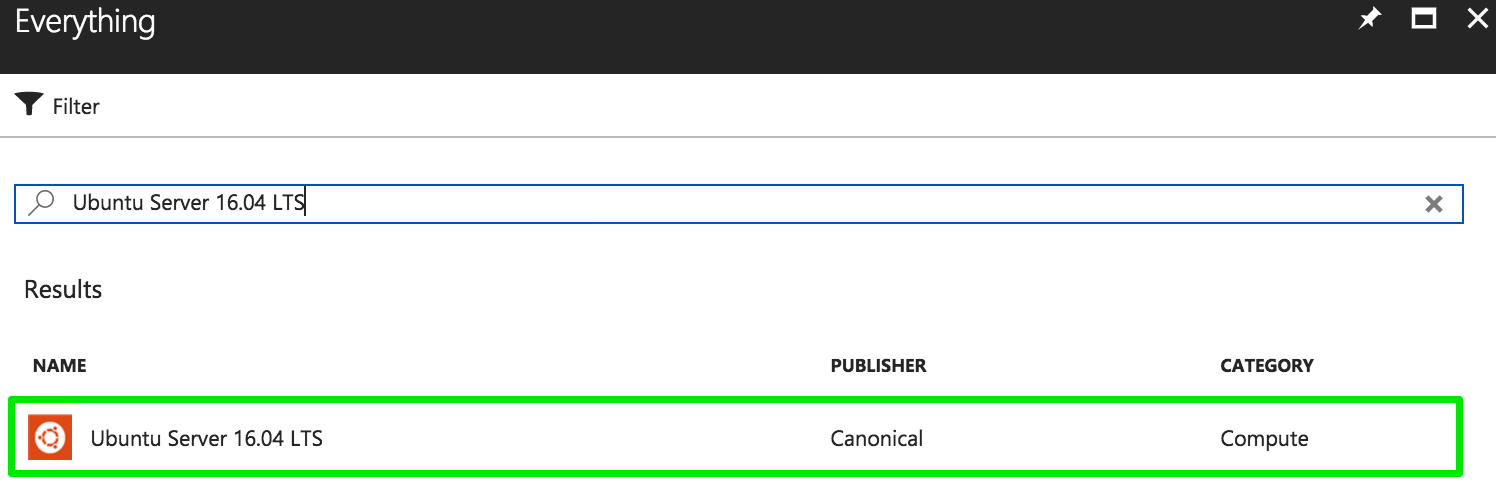
Select the Ubuntu Server instance by Canonical and double check that you are choosing version 16.04 LTS.
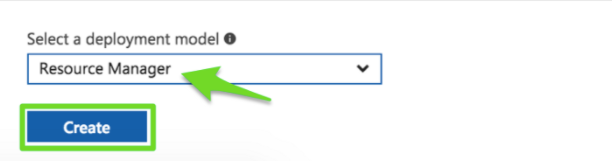
Once the instance is selected, set Resource Manager as the deployment model and click Create:
A menu of 4 simple steps will be shown, as follows:
1st
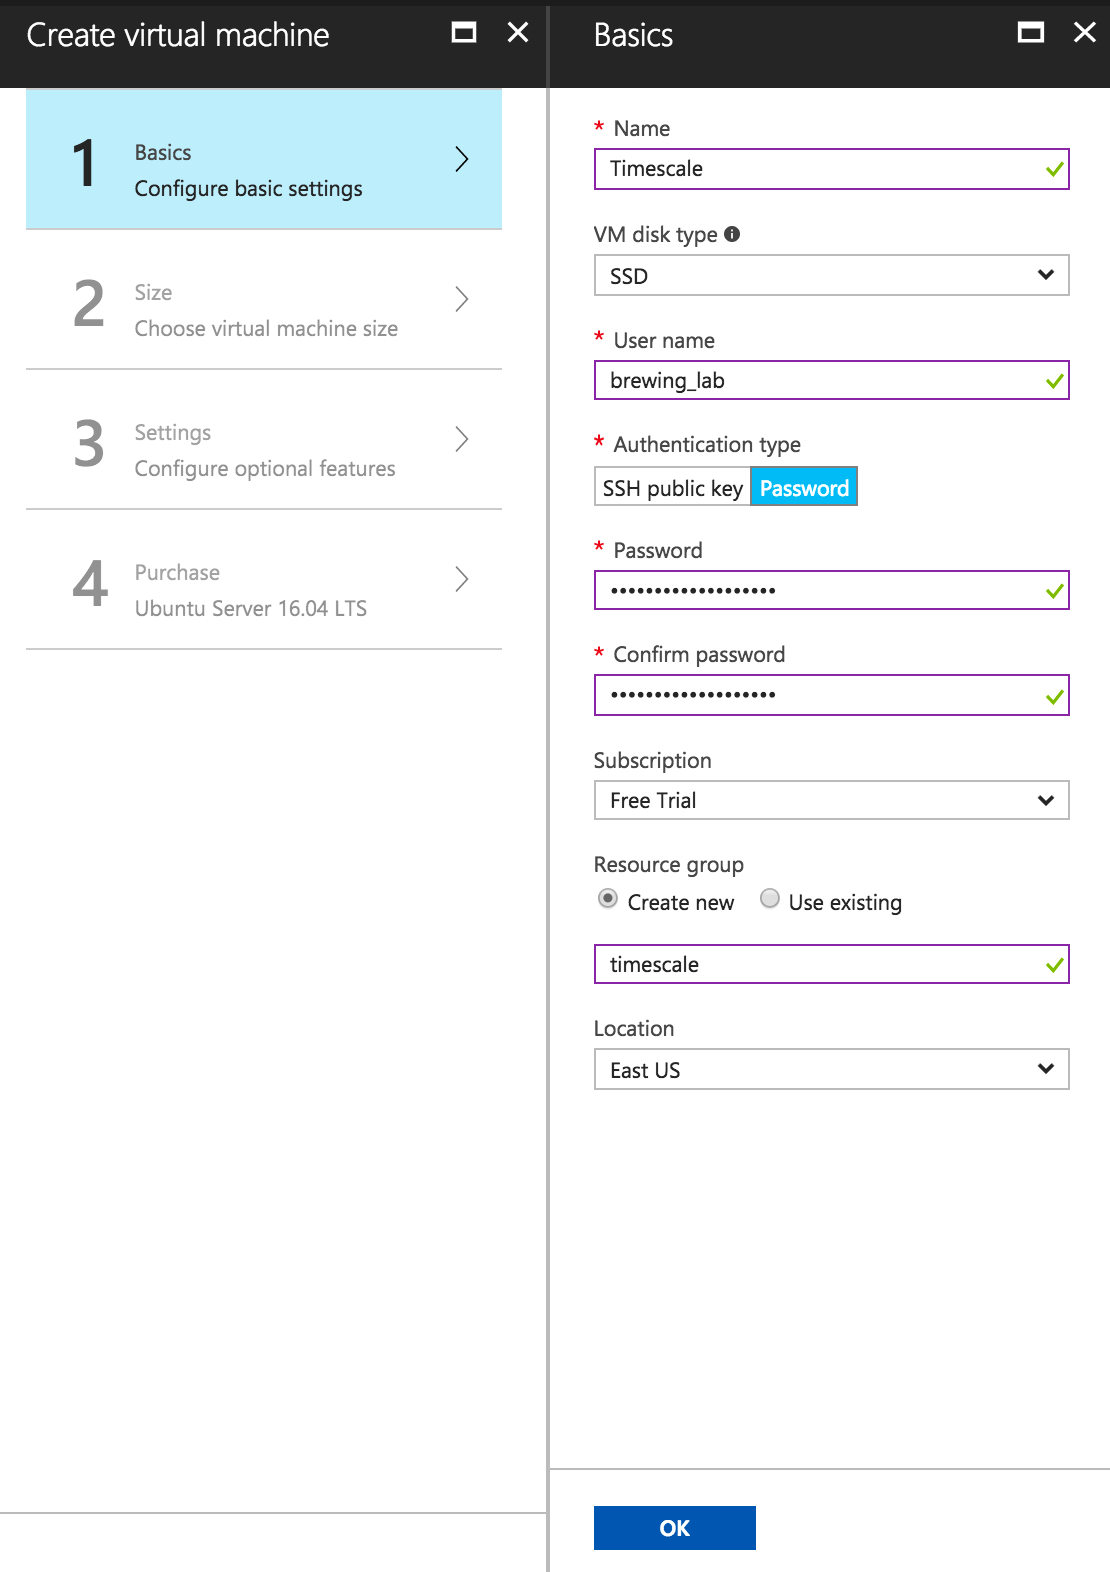
Configure the basic instance settings:
- Enter a Name for our instance
- For our VM disk type Select ‘SSD’
- Enter a User name that you will use to login to the instance from your local computer, along with a Password
- Select ‘Free Trial’ under the Subscription section (for this tutorial)
- In this tutorial we’ll create a Resource group named ‘timescale’ -OR- feel free to use an existing resource group
- Select a Location relative to where you’re located
Once you’ve worked through the required items, click OK:
2nd
Choose the size of your virtual machine. For the purposes of this tutorial, select the Azure DS2_V3 Standard instance and hit Select:

Note: If this were a production environment, we would recommend running an Azure DS4 Standard with 8 Cores at 28GB.
We’d recommend this machine size because inserts are a high-disk-throughput operation and so the expected throughput of the machine is important. (For more information, please see the expected throughput for each type, here.)
In addition, in production we’d recommend 2 Azure Premium Storage Disks:
- 1 for the WAL: GP2, 350 GB (Even though the WAL only needs ~10GB, we recommend a larger volume size for the higher IOPS)
- 1 for the Data: GP2, 5 TB
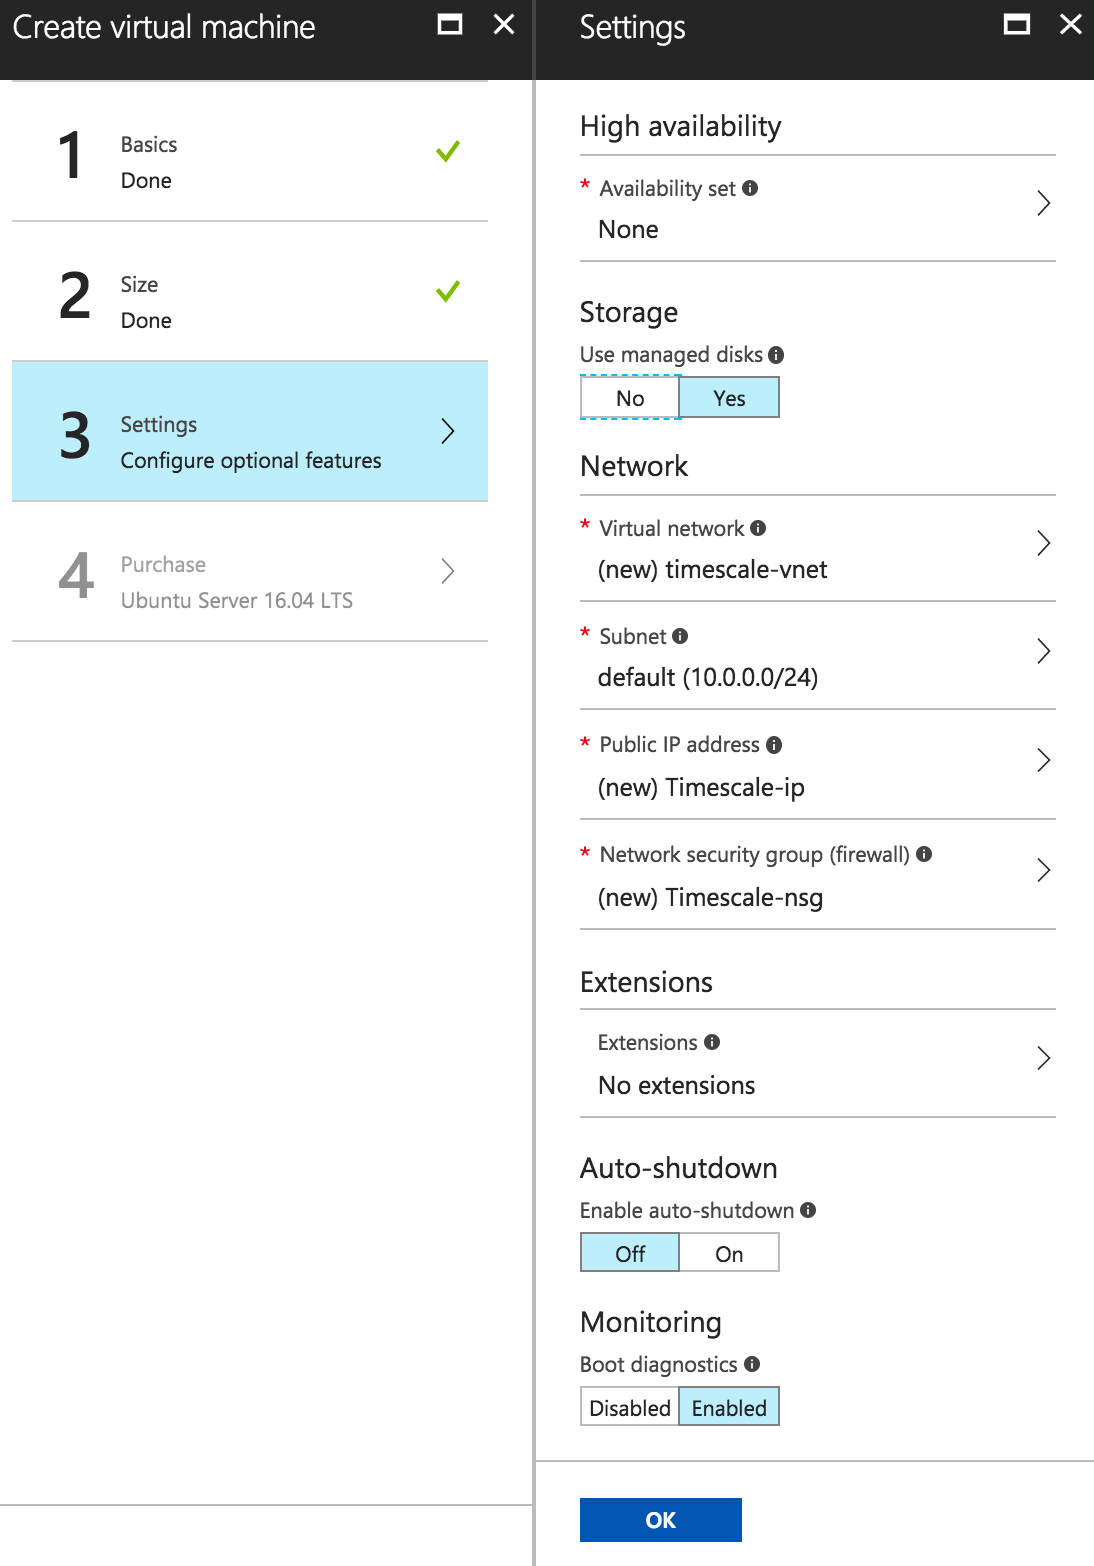
3rd
Configure optional features. Again, for this tutorial, let’s keep all of the default original settings and click OK:
4th
In the last step, the system runs a final validation…

When the validation passes, review the terms and configurations, and then click Purchase:
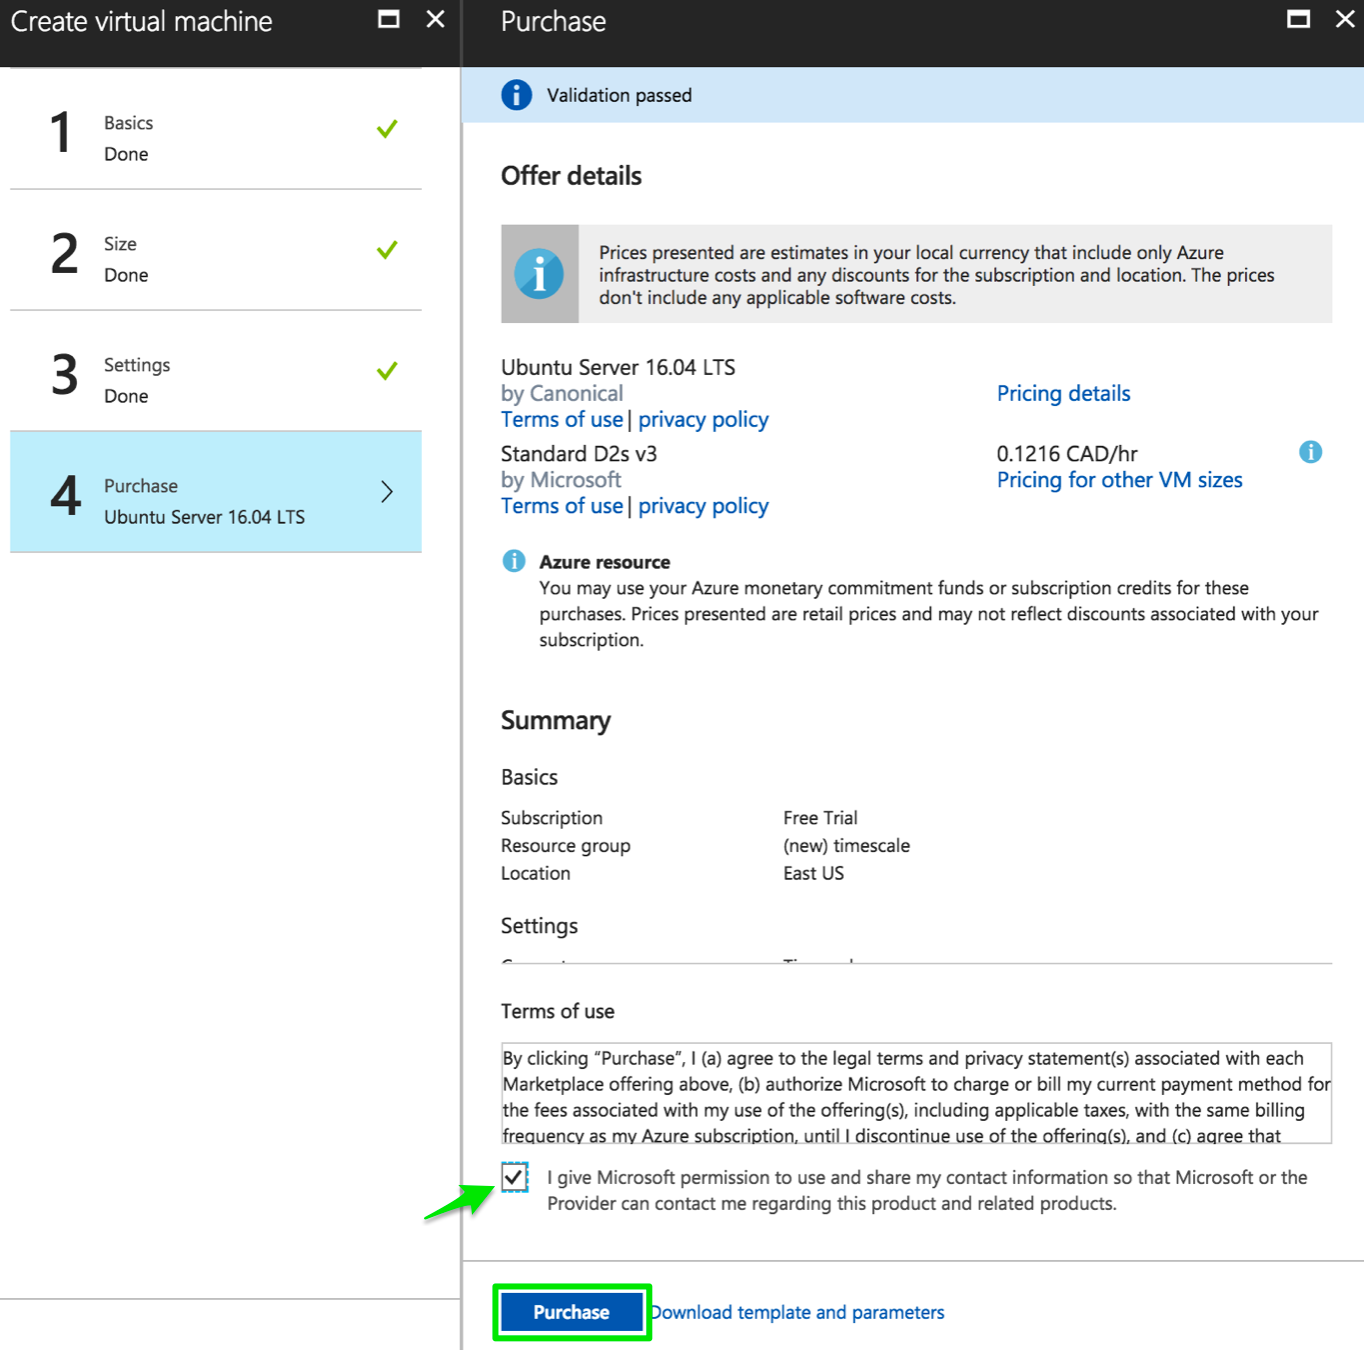
Note: While we are running the tutorial in a Free Trial, beware of the accumulating ‘costs’ as the allocated credit is limited.
Give the system a few minutes while it finalizes the instance configurations and prepares to deploy the Ubuntu Server 16.04 LTS.
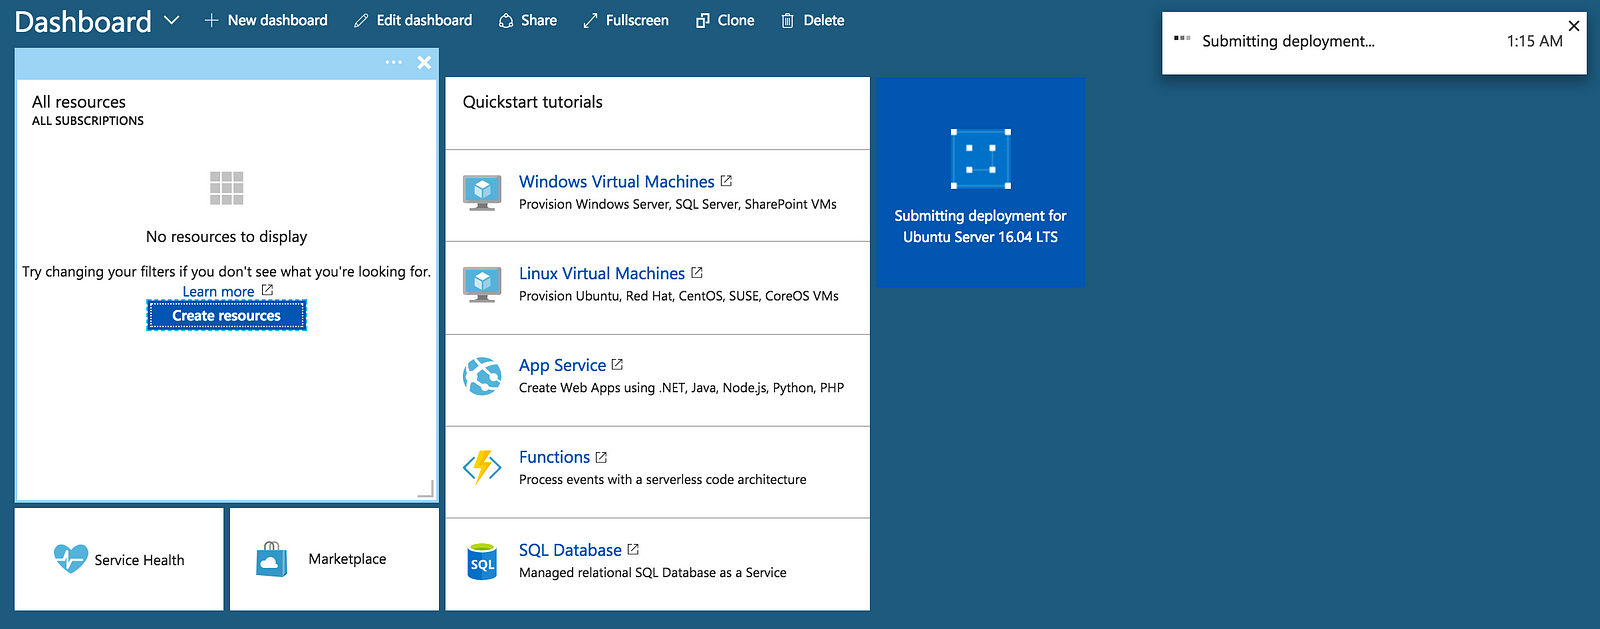
When the system finishes, the Dashboard will contain the Ubuntu Server and you will be shown the details of the Virtual Machine that you just created.
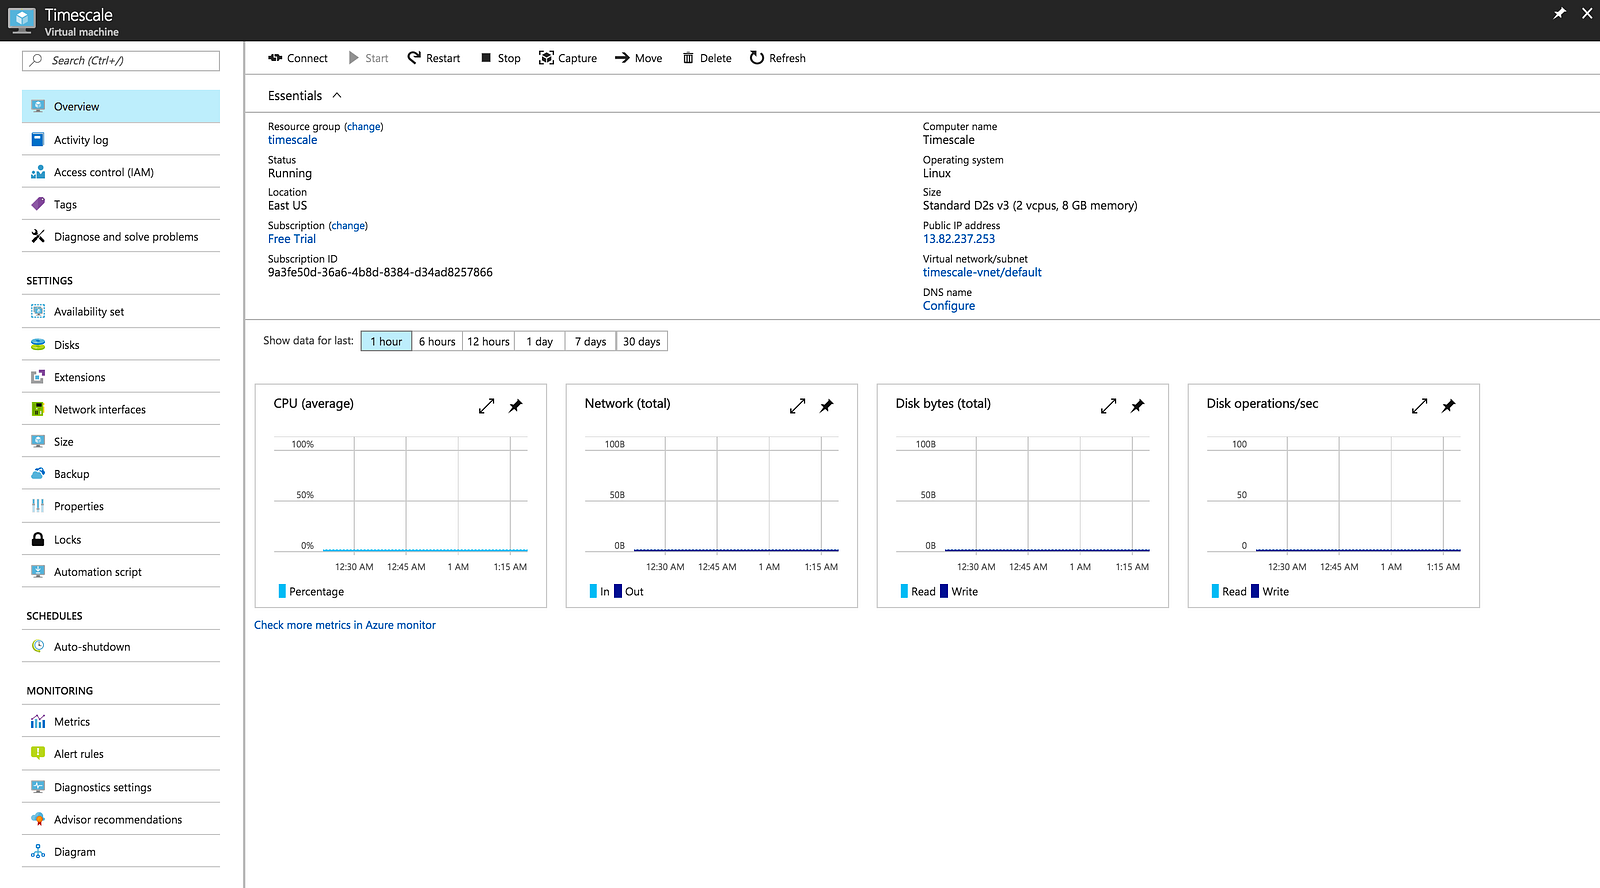
Next we’ll obtain an SSH command to remotely connect to our local machine.
Click on the Connect tab and it will drop down the appropriate information:
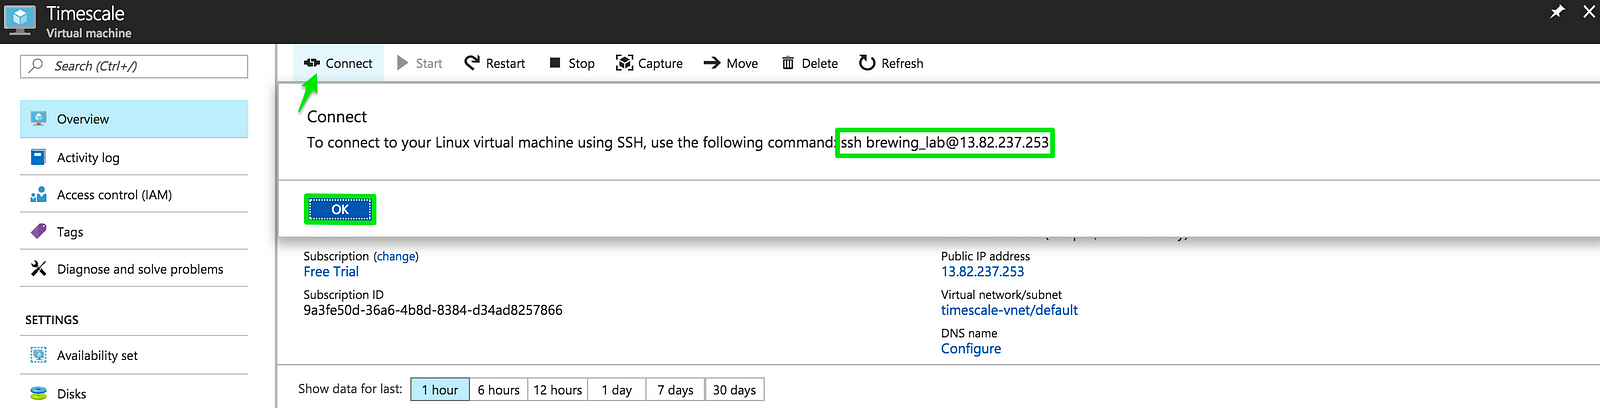
The SSH command you see will be like the one below, but unique to you:
ssh brewing_lab@13.82.237.253Copy this command, navigate to your Terminal window (on Mac) and paste:

If prompted, enter your local computer’s password. Then enter the password you inputed in Step 1 of basic configuration to login to your Azure instance.

Once you have SSH’d into your instance you can install TimescaleDB!
Setting up your D2S instance
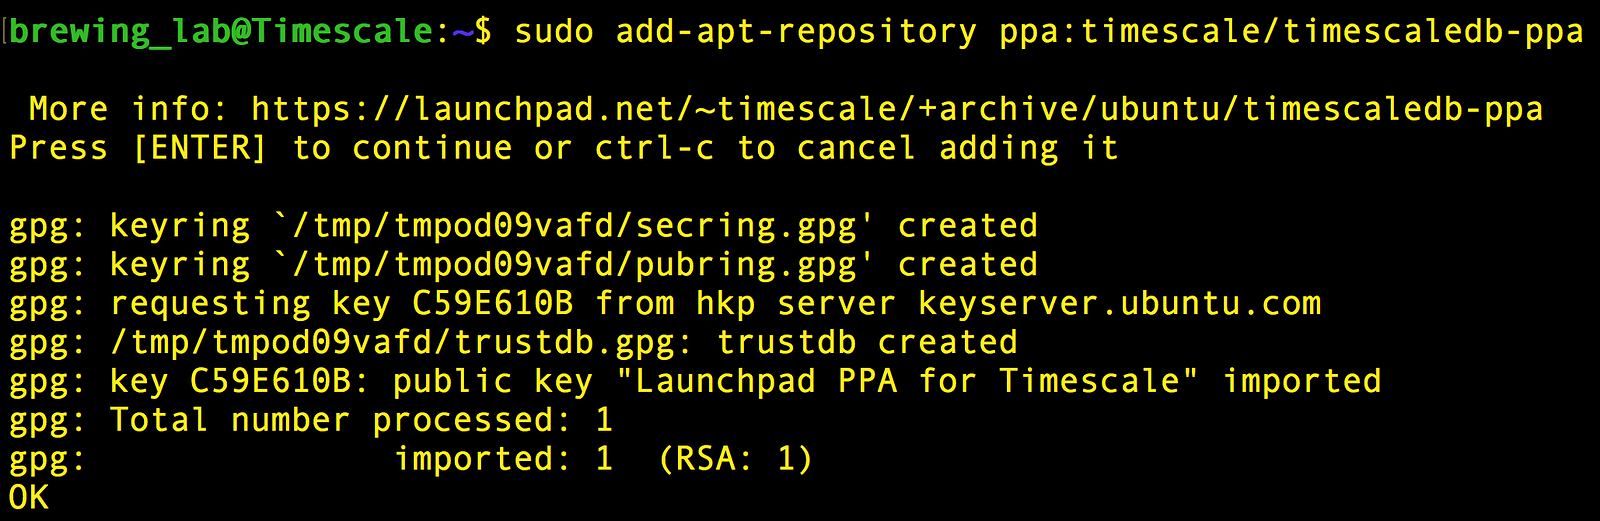
For this section we will reference and walk through the TimescaleDB installation guide. Now that we are in our instance, we will add TimescaleDB’s Personal Package Archive via:
sudo add-apt-repository ppa:timescale/timescaledb-ppaEnter your password, if prompted:
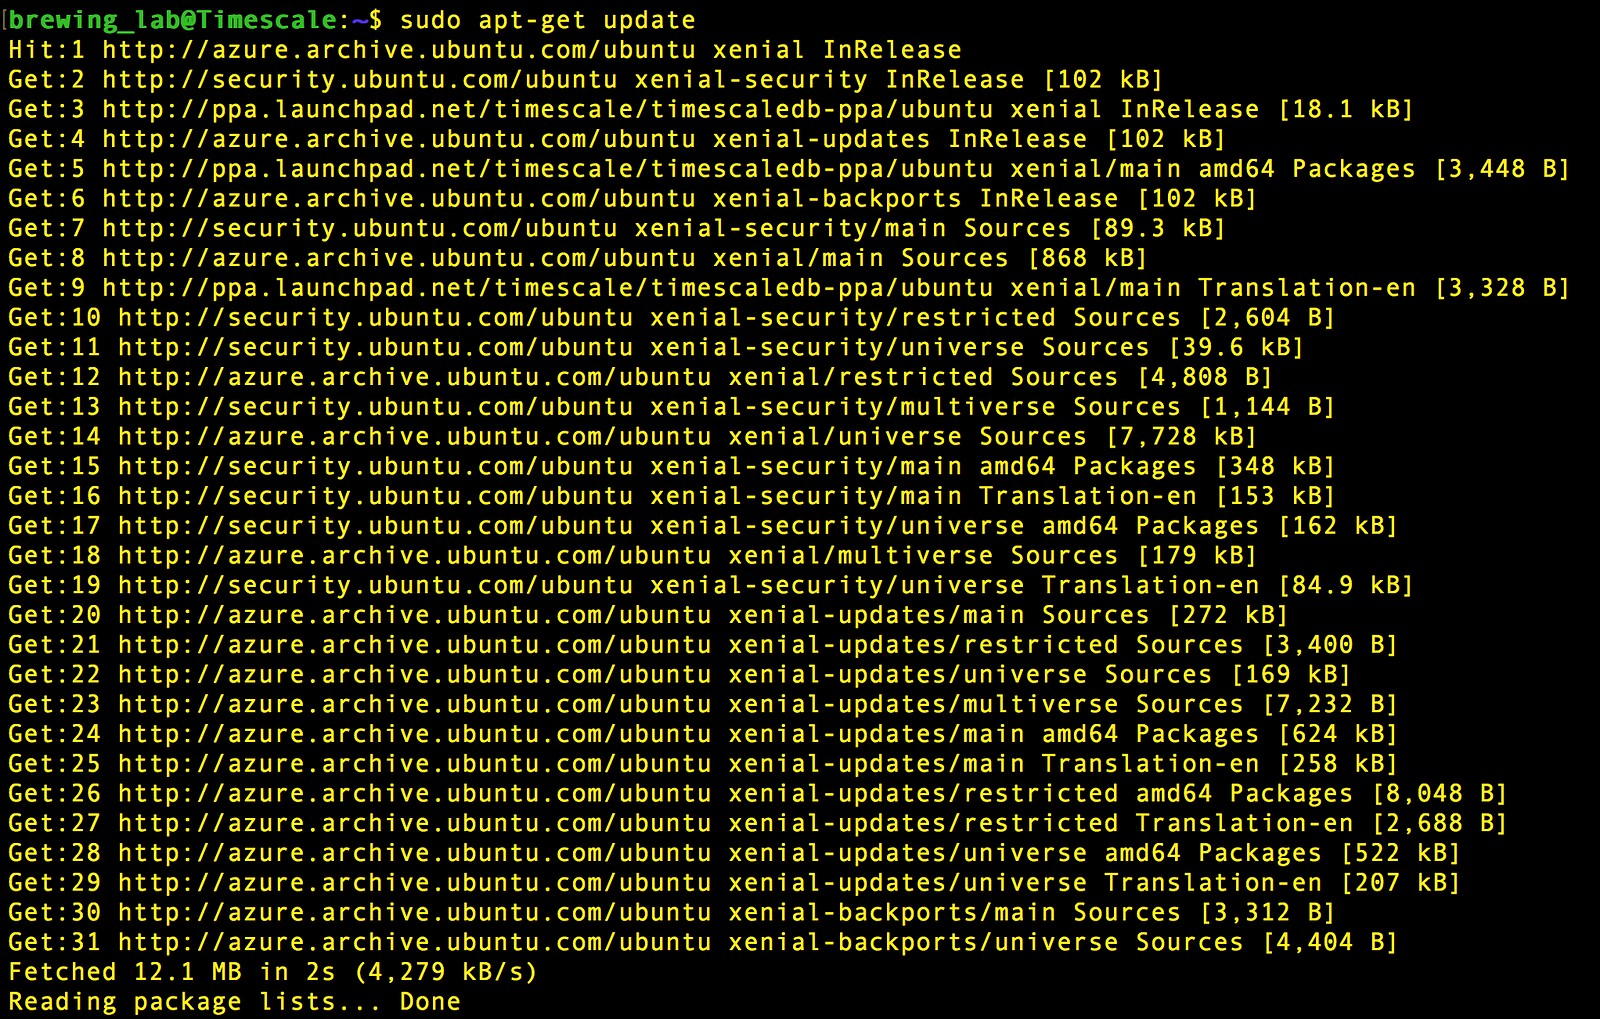
Next, update apt-get as shown below:
Installing TimescaleDB
With the package’s dependencies installed, we can set up TimescaleDB in our instance by executing:
sudo apt install -y timescaledb-postgresql-9.6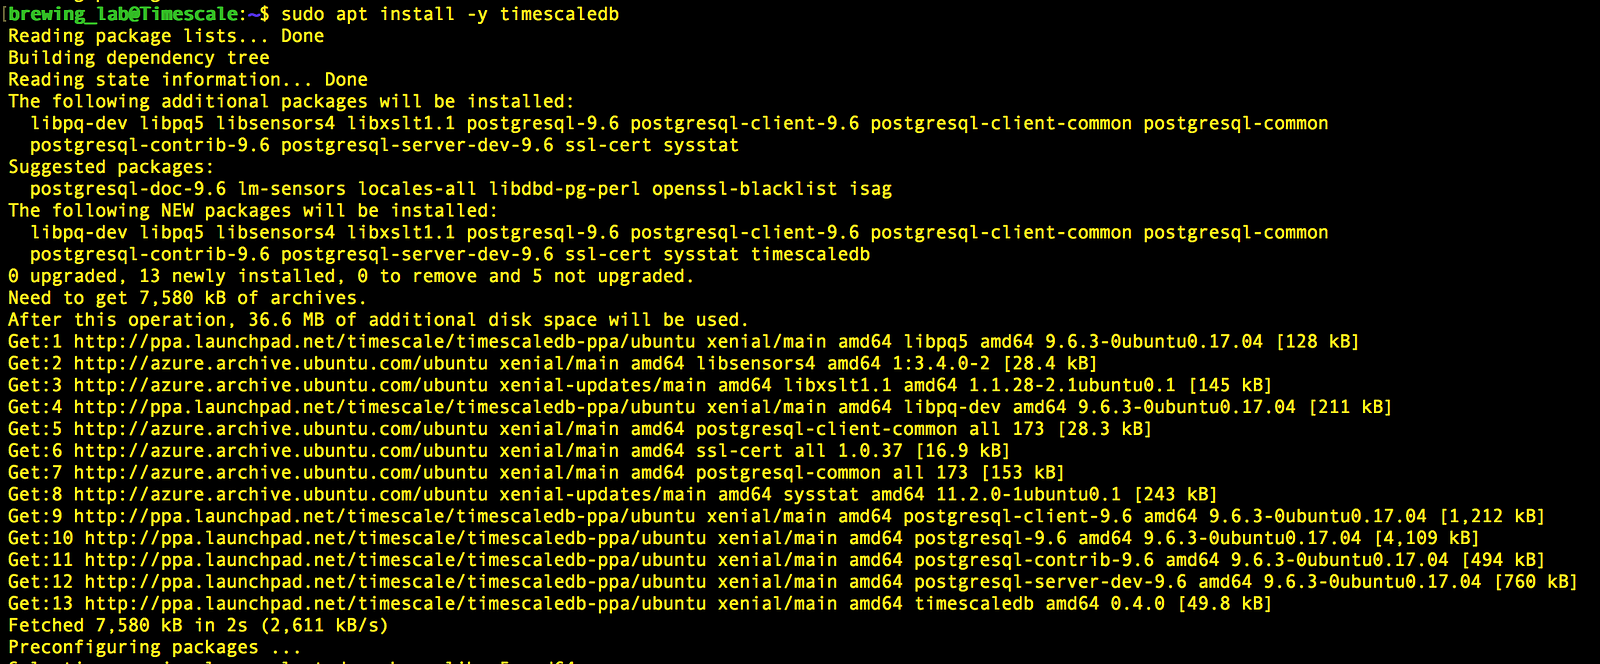
Now TimescaleDB is installed! Time to configure PostgreSQL.
Configuring PostgreSQL
First, let’s check the version of PostgreSQL that we have installed:
psql --versionFor TimescaleDB and our current tutorial, you should have version:
psql (PostgreSQL) 9.6.3
Next, go into the PostgreSQL configuration files by accessing the folder:
cd /etc/postgresql/9.6/mainYou should be within a folder that is now similar to the one below:
ubuntu@ip-172–31–17–231:/etc/postgresql/9.6/main$
Change the permission settings for the postgresql.conf file:
sudo chmod 644 postgresql.confNow we have the ability to write to file. Using a text editor (e.g. ‘nano’) let‘s make some modifications:
nano postgresql.confUnder the ‘CONNECTIONS AND AUTHENTICATION’ heading and within the ‘Connection Settings’ area (see below), uncomment the ‘listen_addresses’ attribute and add in the value ‘*’ to set all IP addresses to listen on:
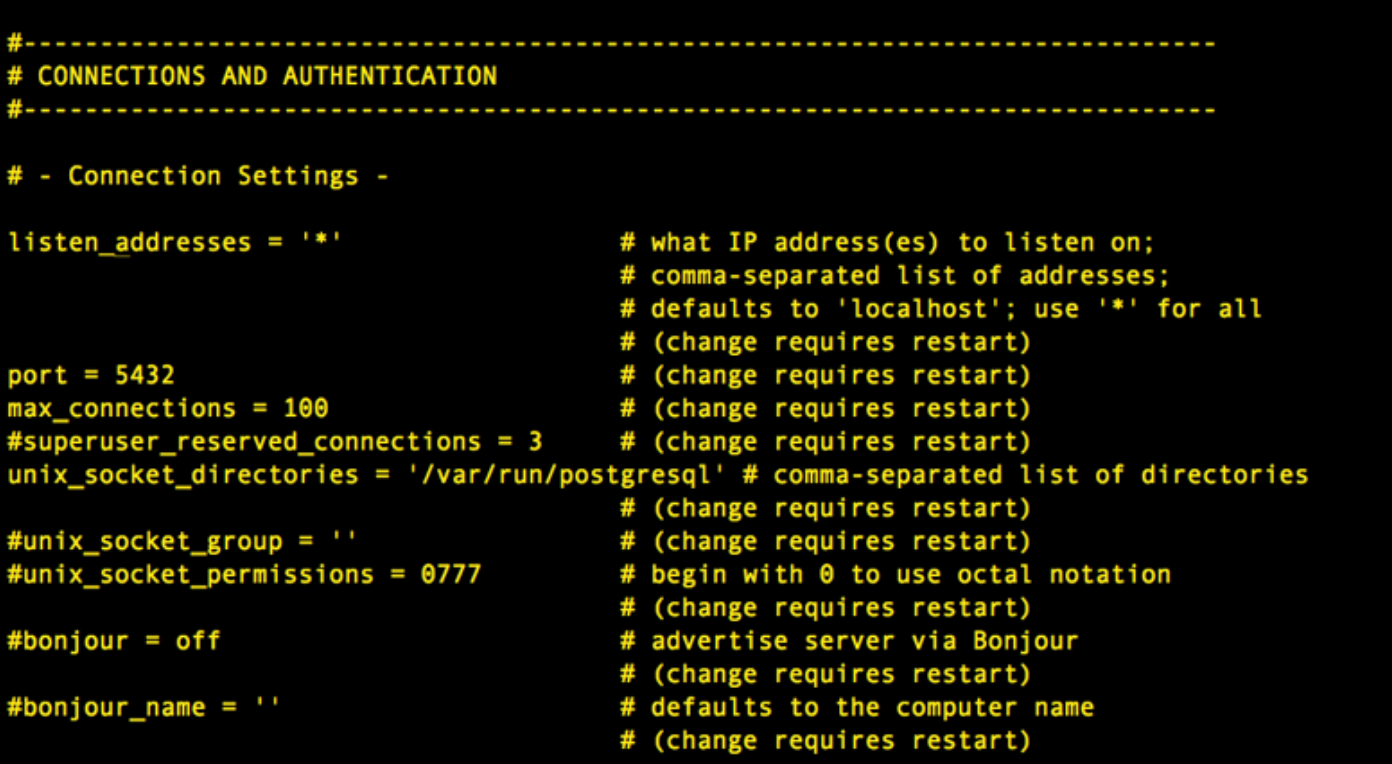
The default value is ‘localhost’ so what you should now have is:
listen_addresses = ‘*’ # what IP address(es) to listen on;Within the ‘RESOURCE USAGE’ section of the postgresql.conf file,

Find the ‘Kernel Resource Usage’ area (see below). Uncomment the ‘shared_preload_libraries’ attribute and add in ‘timescaledb’ as its value.

What you should have is:
shared_preload_libraries = ‘timescaledb’Save the postgresql.conf file and exit out of your text editor.
Now we need to restart the PostgreSQL instance by running:
sudo service postgresql restartThen execute the following command:
sudo su - postgresWe can now use TimescaleDB.
Using TimescaleDB
Now that you have TimescaleDB installed and configured, let‘s walk through an example of running TimescaleDB on our remote Azure instance.
Note: The PostgreSQL server needs to be running for the next step to work.
Within your instance, type in:
psql -U postgresYou should then be in the PostgreSQL instance:
postgres=#The below shows the environment you should be in after executing the ‘psql’ command:
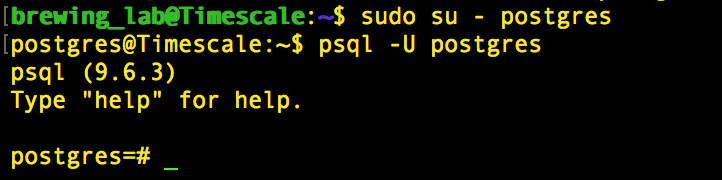
Now we will walk through the steps of working with TimescaleDB as outlined in the ‘Getting Started: Setup’ page in the docs.
- Create a database named ‘tutorial’
CREATE DATABASE tutorial;
2. Connect to the database
\c tutorial
\c tutorial

Now you may connect to the database each time by executing:
psql -U postgres -h localhost -d tutorial3. Initialize extension
CREATE EXTENSION timescaledb;
4. Create a hypertable
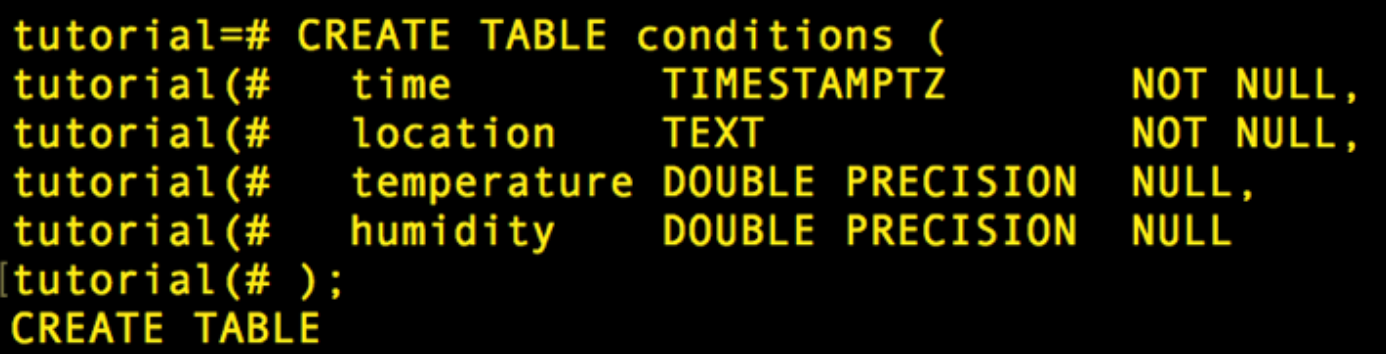
First, create a vanilla PostgreSQL table:
CREATE TABLE conditions (
  time        TIMESTAMPTZ       NOT NULL,
  location    TEXT              NOT NULL,
  temperature DOUBLE PRECISION  NULL,
  humidity    DOUBLE PRECISION  NULL
);
Then, referencing the Timescale APIs, convert the table via the create_hypertable() function. This transforms our table into a hypertable.
SELECT create_hypertable('conditions', 'time');
5. Insert data into the hypertable
INSERT INTO conditions(time, location, temperature, humidity)
  VALUES (NOW(), 'office', 70.0, 50.0);
6. Query data from the hypertable
SELECT * FROM conditions ORDER BY time DESC LIMIT 100;
Voila! You have set up TimescaleDB on Azure.
From our Sample Datasets you may load more data into TimescaleDB and play with some of our Basic Operations and API calls.
For some lengthier tutorials please check out Tutorials, which includes a walkthrough on using PostGIS with TimescaleDB, as well as this blog post: Analyzing Ethereum, Bitcoin, and 1200+ other Cryptocurrencies.
If you have any follow up questions, please email us or join our Slack group.
And if you’d like to learn more about TimescaleDB and support us, please check out our GitHub, star us, and let us know how we can help out.


